Flux Krea Depth ControlNet (Native)
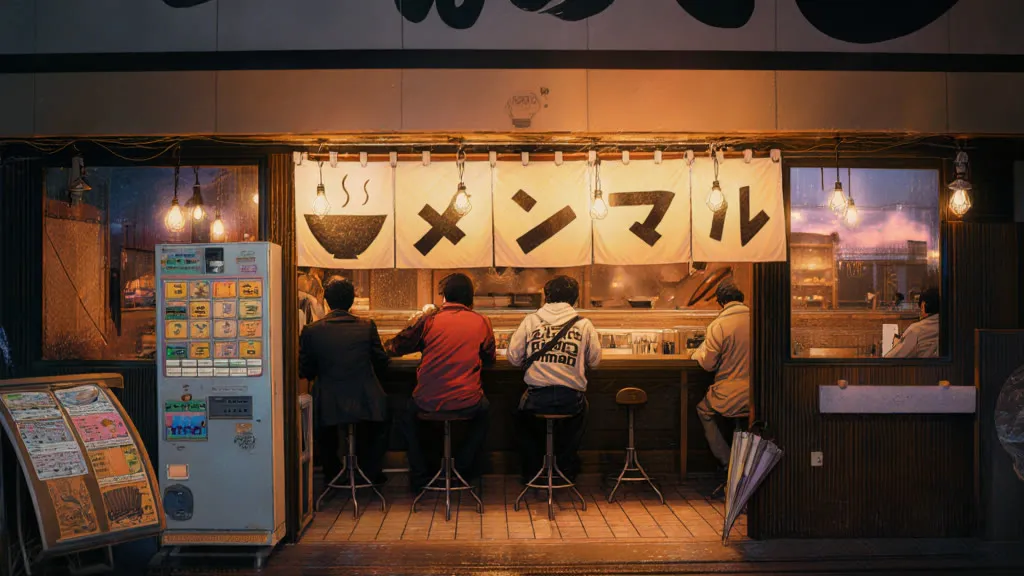
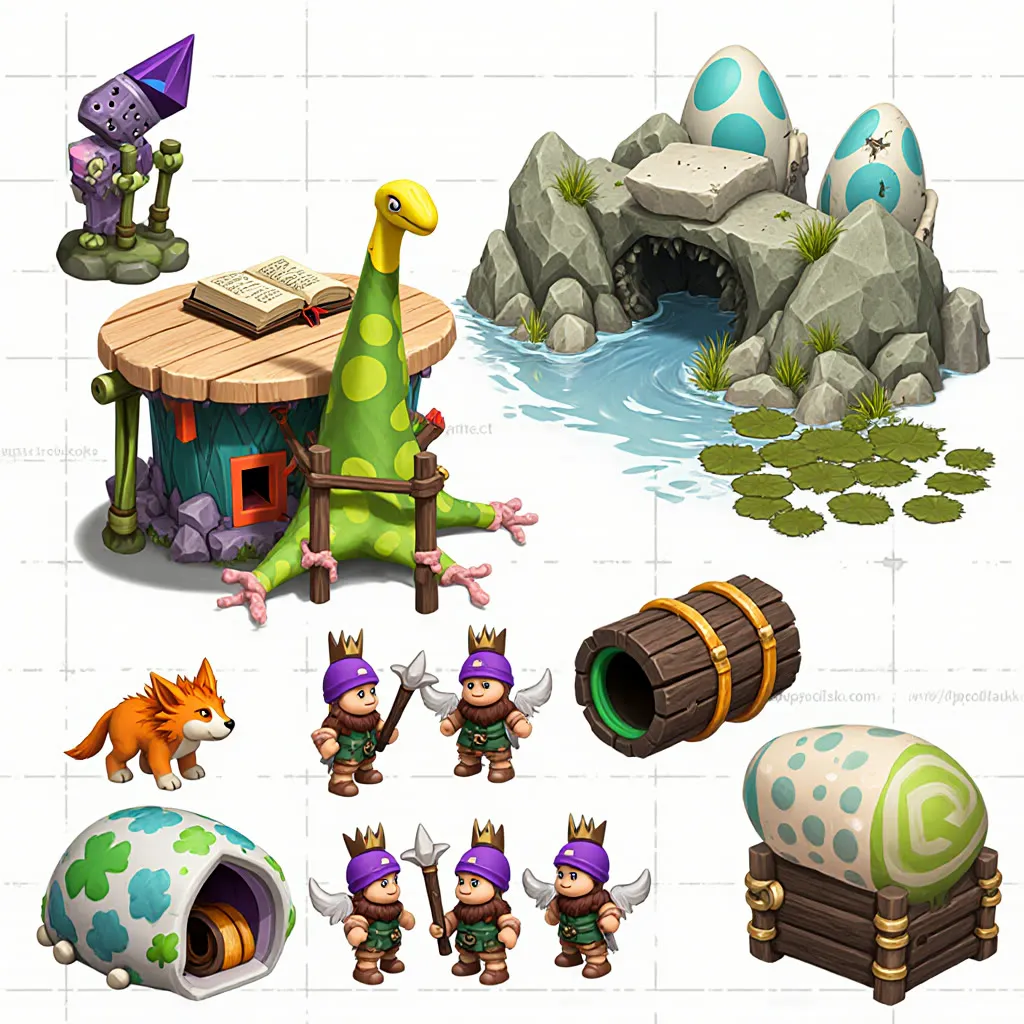
Upload an image and a prompt, and Flux Krea redraws the scene while the depth map keeps the layout intact. Good for heavy restyling that still respects the original composition.
- L40S
- ControlNet
- Image editing
- Free template
How it works
The graph uses only native nodes plus a preprocessor that ships with the ControlNet-aux set.
Your image is loaded and scaled with ImageScaleToMaxDimension. DepthAnythingPreprocessor, using depth_anything_vitl14.pth, converts it to a depth map. PreviewImage shows the map. A ControlNetLoader loads the Flux union ControlNet (diffusion_pytorch_model.safetensors), SetUnionControlNetType selects the depth mode, and ControlNetApplyAdvanced applies it to the positive and negative conditioning.
The base model is flux1-krea-dev.safetensors, loaded with UNETLoader, with clip_l and t5xxl_fp16 as encoders and ae.safetensors as the VAE. The positive prompt goes through FluxGuidance and the negative through FluxDisableGuidance. Because a VAEEncode node feeds the original image into the KSampler, this is image-to-image: the denoise setting decides how far the result can drift from the source.
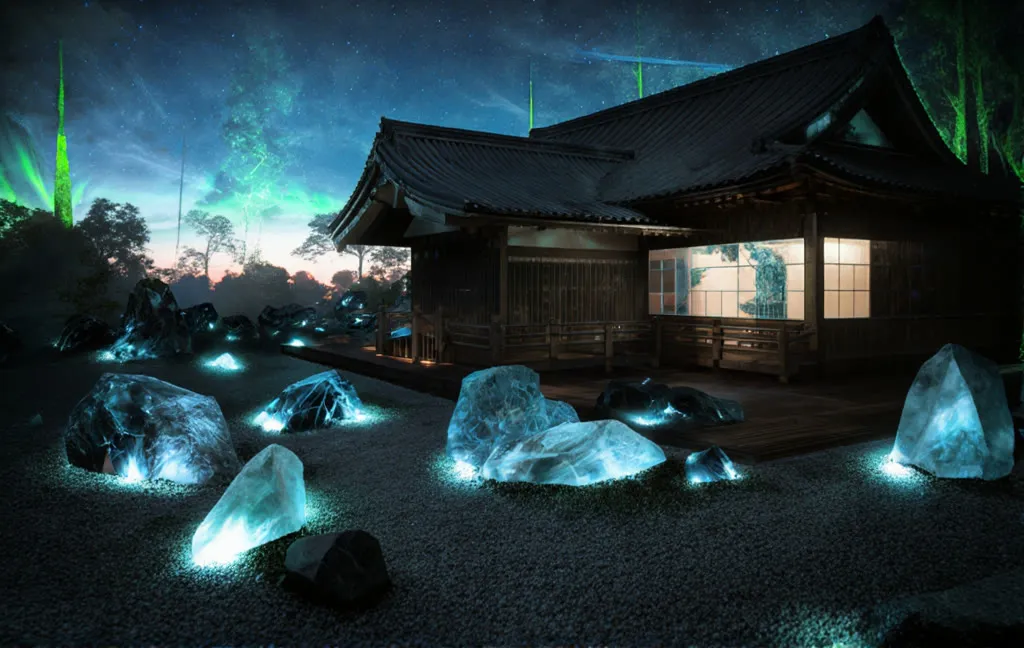
The example prompt describes a temple scene layer by layer, from foreground rocks to midground to sky.
Tips
- Write the prompt by depth layer, as the example does: foreground, midground, background.
- Lower the KSampler denoise to stay closer to the source, raise it for bigger changes.
- Check the PreviewImage depth map. If it looks noisy, use a cleaner or higher-resolution source.
- Tune the ControlNet strength in ControlNetApplyAdvanced if the structure is too rigid or too loose.
What you can use it for
- Restyling a landscape or architecture shot while keeping its layout
- Turning photos into fantasy or sci-fi scenes
- Separating foreground and background changes by distance
- Building a depth-guided image-to-image API
Run it in three steps
Open the template
Click Run on ComfyDeploy. The workflow, its custom nodes and models are set up for you on a cloud machine.
Add your inputs
Provide source image and text prompt in the playground or the ComfyUI editor.
Run, share or deploy
Run it on an L40S, share it with your team as a playground, or deploy it as an API endpoint.
Frequently asked questions
What GPU does the Flux depth ControlNet workflow need?
The recommended GPU is an L40S. It runs flux1-krea-dev with t5xxl_fp16 plus a union ControlNet.
Why use depth instead of Canny edges?
Per the template description, depth maps separate elements by camera proximity, so you can change foreground and background differently while the structure stays the same.
How do I run the Flux depth ControlNet as an API?
Deploy it on ComfyDeploy and call the endpoint with the source image and your prompt. The generated output is returned from the API response.